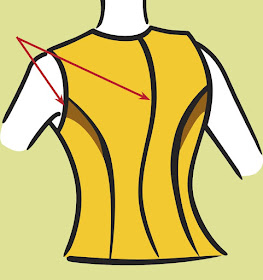
Here's a quick and easy way to make a princess seam without using a pattern. This post came as a result of an email i got from a reader who wanted to know how to create one, while making a nicely fitted dress.This is a 'rush - post' so stay tuned for a more detailed post on the cut, sewing, and a completed dress with prominent princess seams, as well as definitions of the term 'princess seams'.
more on the other side...
second marking - empire cut (under the bust)
third marking - bodice cut (at the belly button, i like to take it up an inch or two for a better fit)
At the apex, mark out 4.5'' from the center fold, connect the dots
At the bodice, mark out 2'' from your first marking
Connect the dots up to the apex...
Cut out
the center would look like this
place your pins on the marking to sew along from bottom upwards
see a more detailed princess post here
photo credits:
www.google.com
www.threadsmagazine.com


Thanks so much ! Glad I saw your blog! I am a newbie at sewing. I have been trying to understand how to make princess seam
ReplyDeleteThis is soooooo cool! Those patterns are kinda confusing!
ReplyDeleteyou're welcome! there is also a recent and more detailed post on princess seams so look it up.
ReplyDeleteMy Name is Ronke, God bless you for showing us this pls, is it the same procedure we are going to apply on short gown. Thnk you. Ronke
ReplyDeleteYes it is @ ronke
ReplyDelete